🥐 Classic Cream Puffs (Choux à la Crème
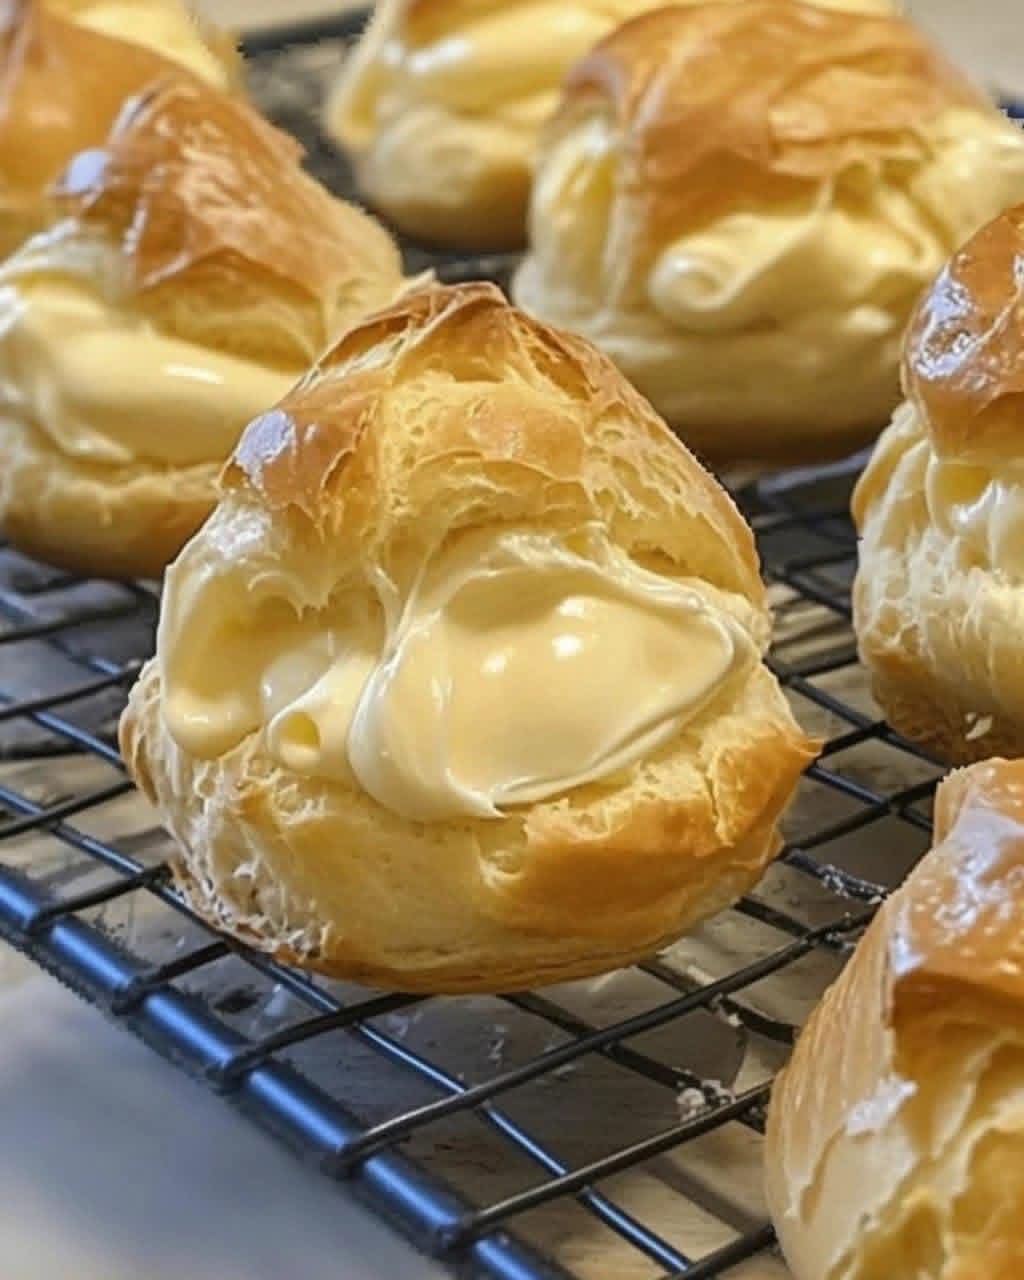
Cream Puffs, or *Choux à la Crème*, are an iconic French pastry known for their delicate, airy shells and rich, creamy filling. The shell is made from *Pâte à Choux* (choux pastry), a magical dough that puffs dramatically in the oven to create a hollow center, perfect for holding a generous amount of custard, whipped cream, or pastry cream. Mastering choux pastry is a rewarding step for any aspiring baker, as it is the foundation for eclairs, profiteroles, and the famous Croquembouche.
✨ Ingredients
I. Pâte à Choux (The Shell)
| Ingredient | Quantity | Notes |
|---|---|---|
| Water (or half water, half milk) | 1 cup | Using milk adds richness and helps browning. |
| Unsalted Butter | 8 tablespoons (1 stick) | Cut into pieces for even melting. |
| Salt | 1/2 teaspoon | Essential for flavor balance. |
| All-Purpose Flour, sifted | 1 cup | Sifting ensures a smoother dough. |
| Large Eggs | 4 large | Must be room temperature; often requires 4-5 depending on size/humidity. |
II. Pastry Cream (Crème Pâtissière – The Filling)
| Ingredient | Quantity | Notes |
|---|---|---|
| Milk (whole) | 2 cups | |
| Sugar | 1/2 cup | |
| Egg Yolks | 4 large | |
| Cornstarch (or flour) | 1/4 cup | Thickening agent. |
| Vanilla Extract | 1 teaspoon | |
| Unsalted Butter, cold | 2 tablespoons | Stirred in at the end for richness. |
📜 History and Formation
The history of *Pâte à Choux* dates back to the **16th century**. The original recipe is often credited to the Italian chef **Pantarelli** (or Penterelli), who worked for Catherine de’ Medici and brought it to France. Over time, his successor, **Popelini**, refined the dough into what was known as *Pâte à Popelin*.
The modern formulation and technique were perfected in the 18th century by the famous chef **Marie-Antoine Carême**. He standardized the method of cooking the dough on the stovetop before adding the eggs, a crucial step that distinguishes choux pastry. The name *chou* (cabbage) comes from the dough’s rough, cabbage-like shape after baking.
The **formation** of the hollow shell is a result of steam. When the water/milk mixture is combined with butter, flour, and eggs, it forms an exceptionally high-moisture dough. The high heat of the oven causes the moisture to rapidly turn into steam, which stretches the gluten structure (developed by the mixing and cooking process) and forces the dough to expand dramatically, leaving a hollow cavity when the shell sets.
🔪 Method and Instructions
Part I: Making the Pastry Cream (Crème Pâtissière)
- Heat Milk: Bring the milk to a gentle simmer in a saucepan.
- Temper Eggs: Whisk together the sugar, egg yolks, and cornstarch in a separate bowl until pale and thick. Slowly drizzle half of the hot milk into the egg mixture while whisking constantly (this is tempering).
- Cook: Pour the tempered mixture back into the saucepan with the remaining milk. Cook over medium heat, whisking continuously, until the mixture thickens and comes to a boil. Boil for 1 minute to cook the cornstarch.
- Finish and Chill: Remove from heat. Stir in vanilla extract and the cold butter until smooth. Transfer to a bowl, cover the surface directly with plastic wrap (to prevent a skin from forming), and chill for at least 3 hours or until firm.
Part II: Making and Baking the Choux Shells
- Preheat Oven: Preheat your oven to $400^\circ\text{F}$ ($200^\circ\text{C}$). Line a baking sheet with parchment paper.
- The Base: In a heavy-bottomed saucepan, combine the water (and/or milk), butter, and salt. Bring to a rapid, rolling boil over medium-high heat.
- The Panic Stage (The *Panada*): Remove the pan from the heat. Add all of the sifted flour at once. Stir vigorously with a wooden spoon until a smooth ball of dough forms (the *panada*). Return the pan to medium heat and continue to stir for 1-2 minutes to dry out the dough; it should look slightly shiny and leave a thin film on the bottom of the pan.
- Add Eggs: Transfer the dough to a mixing bowl (or stand mixer). Beat on low speed for 1-2 minutes to cool it slightly. Add the eggs one at a time, beating thoroughly after each addition until the egg is completely incorporated.
- Check Consistency: The dough is ready when it is thick, smooth, and glossy, and slowly falls from the spoon in a ‘V’ shape (the *bird’s beak* test). If the dough is too stiff, beat in a little more egg.
- Pipe and Bake: Transfer the dough to a piping bag fitted with a large round tip. Pipe 1.5-inch mounds onto the prepared sheet, leaving space between them.
- Bake and Dry: Bake at $400^\circ\text{F}$ for 15 minutes. **Reduce the heat** to $350^\circ\text{F}$ ($175^\circ\text{C}$) and bake for another 20-25 minutes, or until the shells are deeply golden brown and feel lightweight and hollow.
- Cool: Turn off the oven, prop the door open slightly with a wooden spoon, and let the cream puffs cool inside for 15 minutes. This prevents them from collapsing. Transfer to a wire rack to cool completely.
Part III: Assembly and Serving
- Fill: Slice the cooled choux shells horizontally or poke a small hole in the bottom. Fill a piping bag with the chilled pastry cream (or simply use a spoon).
- Assemble: Pipe a generous amount of filling into the bottom shell, then replace the top shell.
- Garnish: Dust with powdered sugar, or drizzle with melted chocolate, and serve immediately.
🧁 Benefits and Conclusion
Cream Puffs offer a unique culinary **benefit**: they provide a delicate vessel (*Pâte à Choux*) for a variety of fillings and sauces, making them versatile for sweet or savory applications. The dough’s lean nature (no chemical leaveners) means it can absorb moisture without becoming soggy.
This classic dessert is widely loved for the incredible textural experience: the **crisp, thin, dry shell** gives way to the **cool, smooth, rich pastry cream** filling. It is a dessert of elegance and restraint.