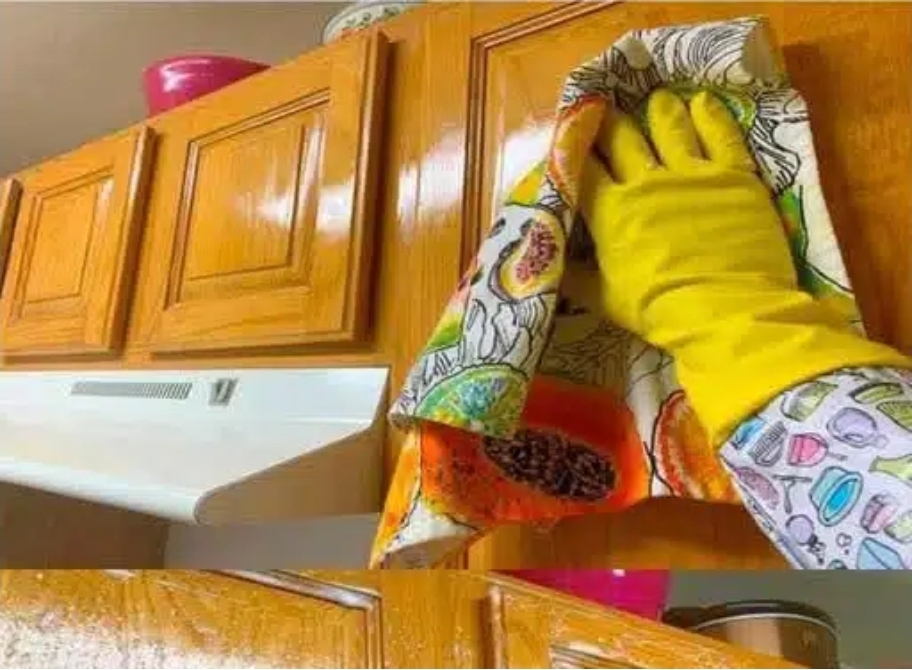
If you spend a lot of time in the kitchen, you’ve probably noticed how quickly cabinets lose their shine. Over time, grease, food splatters, steam, and dust combine to form a sticky layer that makes your cabinets look dull and grimy. The good news? You don’t need to replace them or spend a fortune—just give them a deep clean. In this guide, you’ll learn step-by-step methods, natural cleaning solutions, and pro tips to restore your kitchen cabinets to their original beauty.Best restaurants near me
Why Kitchen Cabinets Get Dull and Grimy
Before diving into the cleaning process, it’s important to understand what’s happening:
Grease buildup: Cooking oils and steam settle on cabinets, especially near the stove.
Dust and dirt: When combined with grease, dust forms a sticky layer that’s hard to wipe away.
Cleaning neglect: Regular light cleaning prevents grime, but many people forget to wipe cabinets down until they look noticeably dirty.
Sunlight and age: Exposure to sunlight and time can dull the cabinet finish.
Supplies You’ll Need
Having the right tools and solutions will make cleaning easier and more effective. Gather the following:
Warm water
Mild dish soap
White vinegar
Baking soda
Olive oil or mineral oil (for polishing)
Microfiber cloths
Soft-bristle toothbrush or old toothbrush
Spray bottle
Soft sponge (non-abrasive)
Dry towel
Step-by-Step Guide to Deep Cleaning Kitchen Cabinets
1. Remove Everything From the Cabinets
Empty your cabinets completely. This prevents food packaging or dishes from getting wet and allows you to clean every corner.
2. Dust and Vacuum First
Use a microfiber cloth or a small vacuum attachment to remove loose dust and crumbs. This prevents mud-like smears when water touches the dust.
3. Prepare a Gentle Cleaning Solution
Mix one of these natural cleaners:
Soap & Water Mix: 2 cups warm water + a few drops of mild dish soap.
Vinegar Solution: 1 cup white vinegar + 1 cup warm water (great for cutting grease).
Spray lightly onto cabinets and wipe with a damp microfiber cloth.
4. Scrub Away Stubborn Grease
If you notice sticky spots:
Dip a soft sponge into a paste made of baking soda + water.
Rub gently on the greasy area.
Wipe with a damp cloth to remove residue.
Use a toothbrush for crevices, corners, and around handles where grime hides.
5. Rinse and Dry Thoroughly
After cleaning, wipe cabinets with a cloth dampened in clean water to remove soap or vinegar residue. Then dry completely with a soft towel to prevent streaks and water damage.
6. Restore Shine With Natural Oils
To bring back luster:
Mix 1 tablespoon olive oil + 1 tablespoon vinegar in a small bowl.
Dip a cloth in the mixture and buff cabinet surfaces in circular motions.
This not only restores shine but also adds a protective layer against future grime.
Special Care for Different Cabinet Types
Wood Cabinets: Avoid harsh chemicals or soaking with too much water. Always dry immediately.
Laminate Cabinets: Gentle cleaners are fine, but stay away from abrasive pads that can scratch the surface.
Painted Cabinets: Use mild soap only. Vinegar and baking soda may damage paint if used too frequently.
Extra Tips for Keeping Cabinets Clean Longer
Wipe spills immediately instead of letting them dry.
Do a quick weekly wipe-down with a damp microfiber cloth.
Use kitchen exhaust fans to reduce grease buildup.
Add cabinet liners inside shelves to make cleanup easier.
Polish wood cabinets every 2–3 months to maintain their shine.
Final Thoughts
Kitchen cabinets are one of the first things people notice when they walk into your kitchen. Instead of living with dull and grimy surfaces, follow this thorough cleaning routine to restore their original beauty. With just soap, vinegar, baking soda, and a little effort, your cabinets will look refreshed, polished, and ready to shine again.
