Two-Ingredient Lemon Bars
Deprecated: preg_split(): Passing null to parameter #3 ($limit) of type int is deprecated in /home/seariivx/carwom.com/wp-content/themes/jannah/framework/functions/post-functions.php on line 863
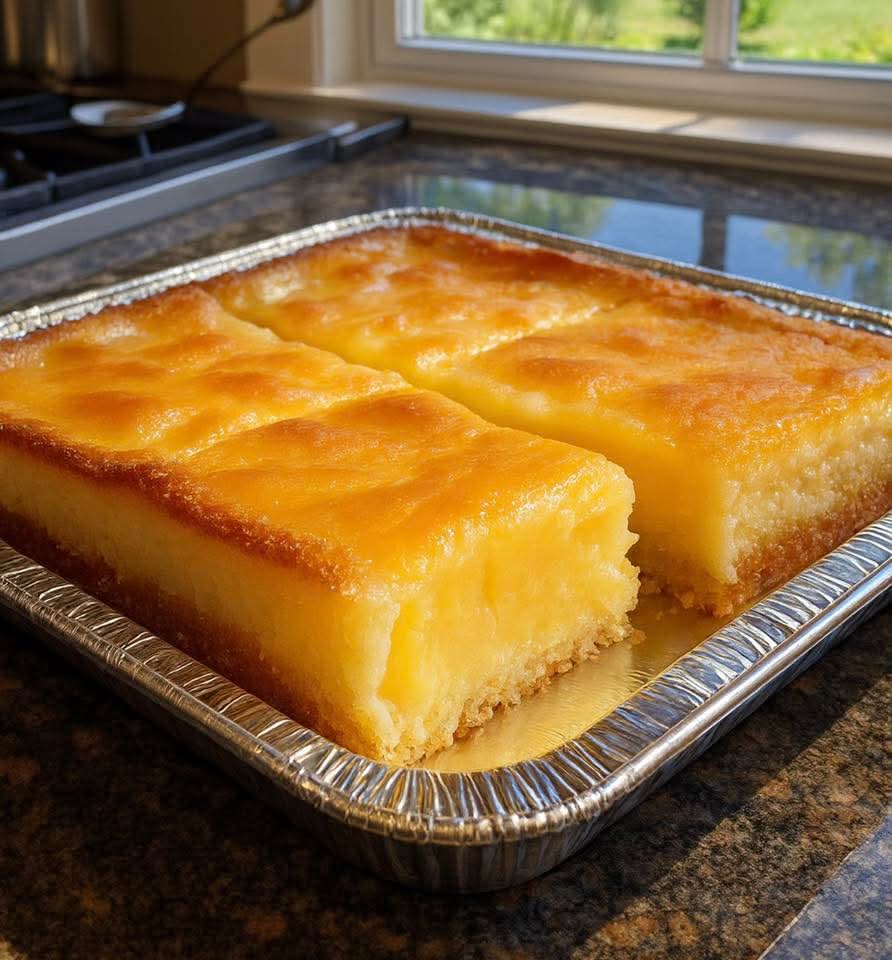
✨ Two-Ingredient Dreamy Lemon Bars 🍋
Bright, tangy, and impossibly easy—these dreamy lemon bars come together with just **two pantry staples**: **angel food cake mix and lemon pie filling**. No cream cheese, no eggs to separate, no crust to press.
Just stir, bake, and cool for a soft, cake-like bar with the perfect balance of sweet and zingy. They’re the ultimate shortcut dessert for potlucks, last-minute guests, or whenever you need a little citrus cheer.
Why You’ll Love This Recipe (Baking Magic!)
This isn’t just another lemon bar—it’s baking magic in its simplest form. It’s moist without being dense, tart without being sour, and so easy that even beginners can master it.
- **Perfect for:** Last-minute parties and holiday gatherings.
- **Ease:** Ideal for beginners and reluctant bakers.
- **Flavor:** A light, tender crumb with a golden top and sunshine-yellow center.
- **Make-ahead:** They actually taste **better the next day!**
🍋 Ingredients
Just Two!
- **1 box (15.25 oz / 430g) angel food cake mix** (any brand)
- **1 can (21 oz / 600g) lemon pie filling** (like Libby’s or Solo)
Optional Finishing Touches
- **Powdered sugar**, for dusting
- Fresh **lemon zest** or thin lemon slices, for garnish
- Whipped cream or vanilla ice cream, for serving
📋 Step-by-Step Instructions
-
1. Preheat Oven & Prep Pan
Preheat oven to **350°F (175°C)**.
Lightly grease a **9×13-inch baking dish** with butter or nonstick spray, or line with parchment paper for easy removal.
-
2. Mix the Batter
In a large bowl, add the **entire box of angel food cake mix** and the **full can of lemon pie filling**.
Stir gently with a spatula or wooden spoon until **completely combined and smooth**—no dry streaks.
✅ **Don’t overmix** —just blend until uniform. -
3. Pour & Spread
Transfer batter to the prepared pan. Use an offset spatula or the back of a spoon to **spread evenly** into the corners.
✅ A smooth top ensures an even bake. -
4. Bake Until Golden & Set
Bake **28–32 minutes**, until:
- Top is lightly golden brown
- Center is firm and springs back when touched
- A toothpick inserted in the middle comes out clean
✅ **Rotate the pan halfway** through for even browning.
-
5. Cool Completely Before Cutting
Let cool in the pan on a wire rack for **1 hour**, then **refrigerate at least 2 hours (or overnight)**. Chilling ensures clean, crisp cuts and enhances the texture.
-
6. Slice & Serve
Lift out using parchment (if used), or slice directly in the pan. Cut into squares or rectangles.
For elegance: **Dust with powdered sugar** and garnish with lemon zest or thin lemon slices. Serve chilled or at room temperature.
💡 Pro Tips & Storage
Pro Tips for Perfection:
- **Tastes Better the Next Day!** Flavors deepen and texture firms up.
- **Want more lemon?** Add 1 tsp fresh zest to the batter.
- **Double the recipe?** Use two pans; they may not bake evenly in one deep pan.
Storage Tips:
- **Fridge:** Store cooled bars in an airtight container for up to **5 days**. Layer with parchment paper to prevent sticking.
- **Freezer-friendly:** Cool completely, wrap tightly, and freeze for up to **3 months**. Thaw in the fridge before serving.
❓ Frequently Asked Questions
- Q: Can I use yellow cake mix instead?
A: Technically yes—but the texture will be denser and less fluffy. Angel food mix gives the ideal lightness. - Q: Why did my bars turn out gooey?
A: Likely underbaked or cut too soon. Ensure full baking time and **complete cooling/chilling** before slicing. - Q: Can I add a crust?
A: Absolutely! Press a layer of graham cracker crumbs + melted butter into the pan first.
Would you like me to find a quick, complementary recipe, such as a 10-minute whipped cream to top these bars, or are you ready to move on to a different topic?
Deprecated: preg_split(): Passing null to parameter #3 ($limit) of type int is deprecated in /home/seariivx/carwom.com/wp-content/themes/jannah/framework/functions/post-functions.php on line 863