Grow Ginger at Home in a Pot
Deprecated: preg_split(): Passing null to parameter #3 ($limit) of type int is deprecated in /home/seariivx/carwom.com/wp-content/themes/jannah/framework/functions/post-functions.php on line 863
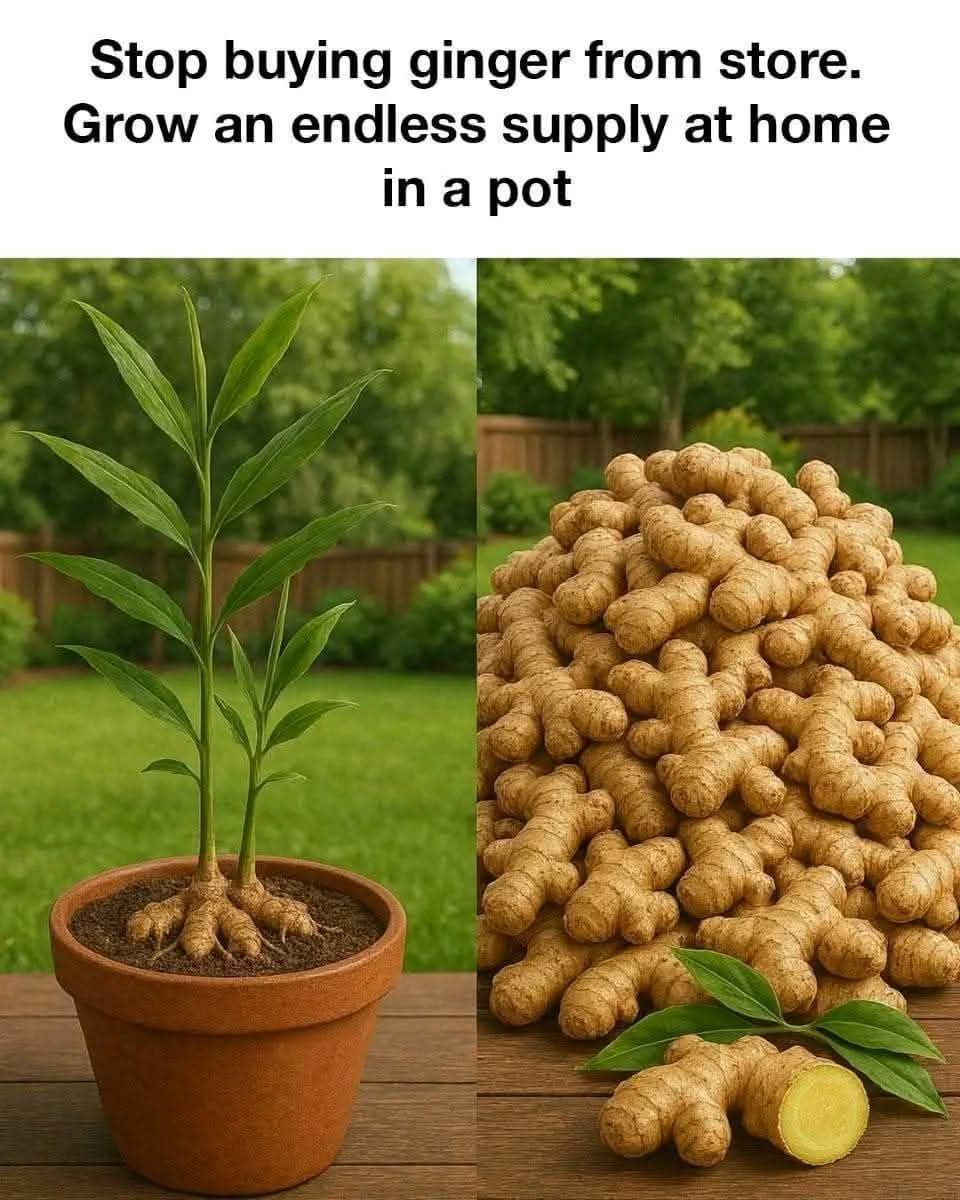
Grow Ginger at Home in a Pot: Endless Supply of Fresh and Healthy Roots
Many people buy ginger from the supermarket every week without realizing that they can grow an endless supply of fresh, organic ginger right at home in a simple pot. Not only will this save you money, but you’ll also have access to chemical-free, fresh ginger with a more intense aroma and flavor than store-bought. In this guide, we’ll explore everything you need to know about growing ginger at home—from planting to harvesting, health benefits, and everyday uses.
Why You Should Grow Ginger at Home
Endless Supply – Once you plant ginger, you can harvest it gradually, and it will keep regenerating.
Cost-Effective – A single root can give you multiple harvests without spending money every week.
Chemical-Free – Store-bought ginger often contains preservatives or pesticides, while homegrown ginger is completely natural.
Easy to Grow – Ginger is a low-maintenance plant that thrives in pots, indoors or outdoors.
Health Benefits – Ginger is rich in antioxidants, helps digestion, reduces inflammation, and strengthens immunity.
Step-by-Step Guide to Growing Ginger at Home
1. Choosing the Right Ginger Root
Buy a fresh piece of ginger from a store or market.
Look for a root with visible “eyes” or buds, as these are the growth points.
Avoid shriveled, dried, or moldy roots.
2. Preparing the Pot
Use a wide and shallow pot (not deep) because ginger grows horizontally.
Make sure the pot has drainage holes to avoid waterlogging.
Fill it with a rich, loose potting mix (a blend of garden soil, compost, and sand is ideal).
3. Planting the Ginger
Soak the ginger root in warm water overnight before planting.
Place the root horizontally in the soil, with the buds facing upward.
Cover lightly with 2–3 cm of soil.
Water gently and place the pot in a warm, shaded area (indirect sunlight).
4. Caring for Your Ginger Plant
Watering: Keep the soil moist but not soggy. Ginger doesn’t like standing water.
Light: Ginger grows best in partial shade or filtered sunlight.
Fertilizer: Add organic compost or liquid fertilizer every 3–4 weeks.
Temperature: Ginger thrives in warm conditions (20–30°C).
5. Harvesting the Ginger
Ginger takes 8–10 months to fully mature.
However, you can start harvesting small pieces after 4–5 months by carefully cutting the edges of the rhizome without uprooting the whole plant.
For a full harvest, wait until the leaves turn yellow and dry, then dig up the rhizomes.
Health Benefits of Fresh Ginger
Boosts Immunity – Helps fight flu, colds, and infections.
Aids Digestion – Reduces bloating, gas, and nausea.
Anti-Inflammatory – Relieves arthritis, muscle pain, and swelling.
Supports Heart Health – Improves blood circulation and reduces cholesterol.
Weight Management – Boosts metabolism and fat burning.
Skin Health – Antioxidants in ginger promote clear, glowing skin.
Creative Ways to Use Your Homegrown Ginger
Tea: Fresh ginger tea with honey and lemon is a natural immunity booster.
Cooking: Add to curries, soups, and stir-fries for amazing flavor.
Juices & Smoothies: Blend with fruits for an energy-packed drink.
Pickles: Make homemade ginger pickle to store for months.
Natural Remedy: Use for sore throat, cough, or stomach discomfort.
Tips for Continuous Supply
Always leave a part of the rhizome in the pot while harvesting.
Replant small sections with buds to keep the cycle going.
Use multiple pots if you want a larger harvest.
Conclusion
Growing ginger at home in a pot is simple, cost-effective, and rewarding. With just a little care, you can enjoy an endless supply of fresh, organic ginger right at your fingertips. Not only will it elevate your cooking, but it will also improve your health naturally. So next time you buy ginger from the market, save a piece and start your homegrown ginger journey today!
Deprecated: preg_split(): Passing null to parameter #3 ($limit) of type int is deprecated in /home/seariivx/carwom.com/wp-content/themes/jannah/framework/functions/post-functions.php on line 863