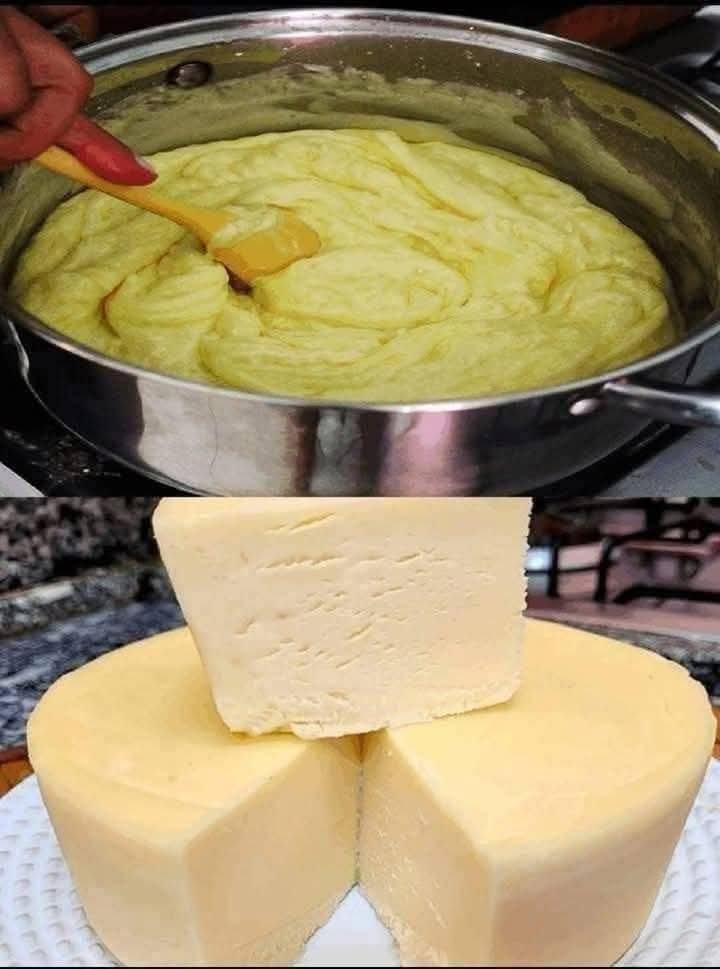
Why You’ll Love This Recipe
Simple Ingredients : Only milk and vinegar are needed—no fancy equipment or additives required.
Quick & Easy : Ready in under 30 minutes with minimal effort.
Customizable : Use different types of milk (whole, skim, or plant-based) and seasonings to suit your taste.
Versatile : Perfect for salads, sandwiches, snacks, or as a base for more complex recipes.
Budget-Friendly : Save money by making cheese at home instead of buying it pre-made.
Ingredients You’ll Need
Makes about 1–1.5 cups of cheese
4 cups whole milk (or any milk of your choice—dairy or plant-based)
2–3 tbsp white vinegar (or lemon juice for a citrusy twist)
Salt , to taste (optional)
Optional Add-Ins : Fresh herbs, garlic powder, black pepper, or honey for sweet cheese
Step-by-Step Instructions
Step 1: Heat the Milk
Pour the milk into a saucepan and heat it over medium-low heat, stirring occasionally to prevent scorching.
Heat the milk until it reaches 180°F (82°C) or until small bubbles form around the edges and steam rises (but don’t let it boil).
Step 2: Add the Vinegar
Remove the saucepan from the heat and slowly stir in the vinegar, one tablespoon at a time. You’ll notice the milk beginning to curdle almost immediately—the proteins will separate into curds (solid) and whey (liquid).
Stop adding vinegar once the curds have fully separated and the whey looks clear or slightly yellowish.
Step 3: Strain the Curds
Line a colander with cheesecloth or a clean kitchen towel and place it over a bowl to catch the whey.
Carefully pour the curds and whey into the colander to separate the solids from the liquid. Let the curds drain for 5–10 minutes , depending on how firm you want your cheese.
Step 4: Season and Shape
Transfer the drained curds to a bowl and mix in salt or any optional seasonings to taste. For sweet cheese, add a drizzle of honey or a sprinkle of cinnamon.
If desired, press the cheese into a mold or shape it into a block using your hands or a small container.
Step 5: Store or Serve
Use the cheese immediately or store it in an airtight container in the fridge for up to 3–5 days .
Why This Recipe Works
Acid Coagulation : The vinegar (or lemon juice) causes the milk proteins to coagulate, separating into curds and whey.
Simple Chemistry : This process mimics traditional cheese-making methods but skips the complexity of rennet or aging.
Customizable Results : Adjust the texture and flavor by varying the type of milk, acid, or draining time.
Variations to Try
Herbed Cheese : Mix in fresh herbs like dill, chives, or basil for a savory spread.
Spiced Cheese : Add garlic powder, red pepper flakes, or smoked paprika for extra flavor.
Sweet Cheese : Stir in honey, vanilla extract, or fruit preserves for a dessert-worthy treat.
Plant-Based Option : Use almond, soy, or oat milk for a vegan version (add a pinch of salt to enhance flavor).
Paneer-Style Cheese : Press the curds firmly under a weight for 1–2 hours to create a firmer texture, perfect for cooking.
Tips for Success
Use Whole Milk : Whole milk yields creamier cheese, but skim milk works too if you prefer a lower-fat option.
Don’t Overheat : Avoid boiling the milk, as high heat can affect the texture of the curds.
Save the Whey : Use the leftover whey in smoothies, soups, or bread dough for added nutrition.
Serving Suggestions
Romantic Touch : Serve the cheese on a charcuterie board with crackers, fruits, and nuts for an elegant presentation.
Brunch Staple : Spread it on toast with jam or pair it with scrambled eggs for a hearty meal.
Party Platter : Use it as a dip base or crumble it over salads and pasta dishes for variety.
Final Thoughts
This Homemade Cheese with Milk and Vinegar is a celebration of simplicity and creativity, offering a dish that feels indulgent yet approachable. With its creamy texture, customizable flavors, and endless versatility, it’s a recipe that’s sure to impress whether you’re cooking for a special occasion, a casual snack, or simply craving something satisfying.
Your turn! Have you ever made cheese at home before? Share your favorite variations or serving ideas below. 🧀
